How to Renovate the Liner of a Swimming Pool
Summary
– Step 1: Deep clean your pool liner
– Step 2: Repair leaks and holes in your pool liner
– Step 3: Renovate the pool liner with an adhesive frieze
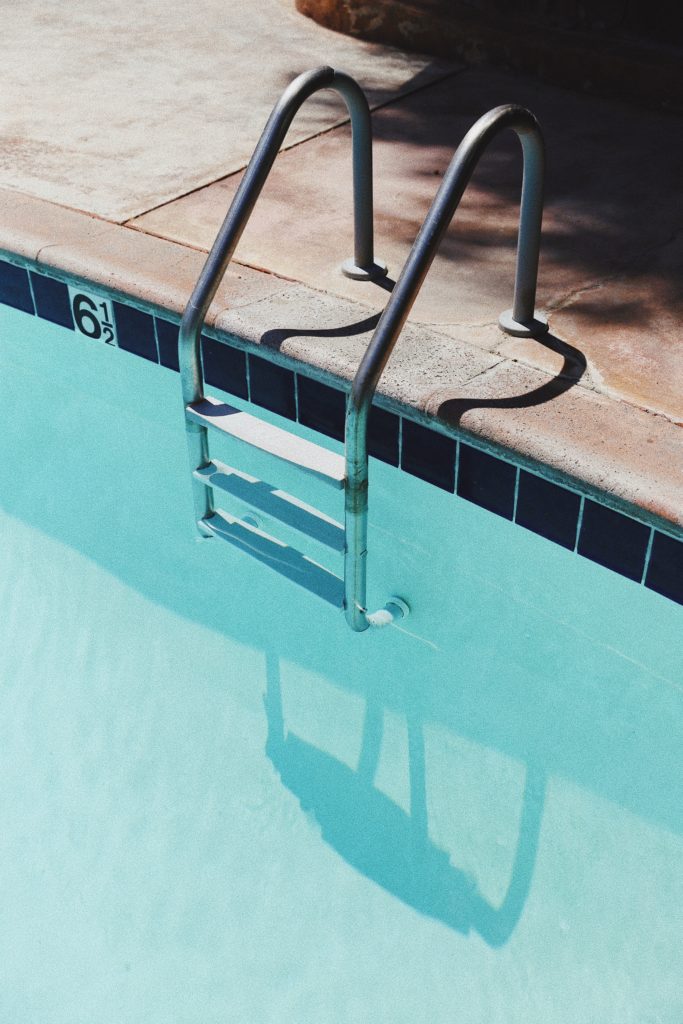
Over the years of use, a pool liner inevitably gets dirty, gets holes in places, and eventually discolors, especially above the waterline, giving it a neglected appearance. Before you consider changing the liner, an operation that represents a certain cost, you can undertake to rejuvenate it at little cost.
Here is a step-by-step procedure for renovating a pool liner.
Materials needed to renovate a pool liner
| Burning alcohol | $3 approx. |
| Pool brush | $6 approximately |
| Rag | Free |
| Magic sponge | $8 approx. |
| Adhesive frieze | $8 to $12 per meter |
| Cleaning glove | $7 approx. |
| Repair kit (patches + glue) | Starting at $6 |
| Special rust stain cleaner | Starting at $9 |
| Degreasing product | Starting at $7 per liter |
| Plastic squeegee | $1 approx. |
| Spray to facilitate installation | $12 |
1. Renovate the liner of a swimming pool by deep cleaning
Perform a global cleaning of the liner:
– Vacuum or robot in the pool.
– If you do not have a robot or if it does not clean the walls perfectly, vigorously brush the vertical walls with your wall brush to remove any algae residue.
– Use a liner cleaning glove.
– Wet the glove thoroughly and then pour a water line cleaner over it.
– Scrub the soiled areas in circles, one way and then the other.
– Emphasize the areas where the dirt is stubborn.
Use a “magic eraser”:
To fine-tune the cleaning in hard-to-reach areas, such as corners or around skimmers, use a “magic eraser” or “magic sponge” as follows:
– Slightly moisten the sponge or eraser, which will harden into a micro-thick material.
– Scrub the areas that remain dirty: the dirt particles are mechanically absorbed without the risk of damage to the liner.
Eliminate rust and brown stains:
– If your liner is stained with rust, use a special rust stain remover: pour a small amount on the cleaning glove and gently rub the stains.
– If your liner has stubborn brown stains, the problem is more complex.
2. Repair leaks and holes in your pool liner
If your liner is punctured in places or leaks, you can repair it with a repair kit with patches and specific glue.
Here is the procedure to follow:
– Apply the glue generously on the patch.
– Fold the patch in half.
– Unfold the patch underwater at the last moment.
– Apply the patch by pressing hard and smoothing it with the flat of your hand to eliminate all air bubbles.
– If you are repairing on the bottom of the pool, place a heavy object (such as a canister of water) on the patch for a few hours.
3. Renovate the pool liner with an adhesive frieze
Under the action of the sun, the liner fades, especially in its emerged part, which gradually tends to become almost white, which is not very aesthetic and gives a neglected aspect to your pool.
You can then apply an adhesive frieze to the water line yourself, which will camouflage the discoloration and also offers the advantage of being very easy to clean in the future.
▪ Calculate the dimensions of the frieze this way:
2 × the length + 2 × the width of the pool = total perimeter
For example: for a pool of 8 × 4 m, you will need 24 meters of the frieze.
– Calculate the necessary height of your frieze: measure the height of the discolored liner starting from the top edge of the pool. Your frieze must cover at least this height + 3 cm.
Prepare the surface:
– Empty the pool a little to work out of the water.
– Degrease perfectly the surface where the frieze will be applied with a water line cleaner.
– Finish by wiping with methylated spirits and a cloth.
Glue the frieze:
– Spray the surface to be glued with a spray product specially designed to facilitate installation (sold by manufacturers of adhesive friezes).
– Remove the silicone paper that protects the adhesive side of the frieze.
– Apply the frieze starting at an angle, positioning it very precisely at the top of the liner.
– Make sure it is firmly adhered to a squeegee to prevent air bubbles from forming during gluing. Move the squeegee from the middle of the frieze to the outside top and then to the outside bottom.
– Before applying the frieze to the skimmers:
◦ Make a cardboard pattern with the exact dimensions of each skimmer.
◦ Place the pattern on the frieze where it will cover the skimmer.
◦ Draw the location of the skimmer on the frieze using the pattern and a felt pen.
◦ Scissor out the skimmer location.
– When the frieze is fully applied, wait 48 hours before filling the pool to its normal level.
And, that’s it. You are done. Remember to leave your comments in the section below.


Pingback: Comparative Swimming Pool Linings: Possibilities and Prices | Home My
Pingback: 6 Essential Steps to Remove Brown Stains on a Pool Liner | Home services blog