Summary
– Focus on wall coatings
– Step 1: Prepare your wall for the application of the plaster
– Step 2: Prepare the smoothing compound
– Step 3: Prepare your coating knife
– Step 4: Apply the plaster to the wall
– Step 5: Apply coating to a projecting corner of the wall
– Step 6: Apply the finishing touches
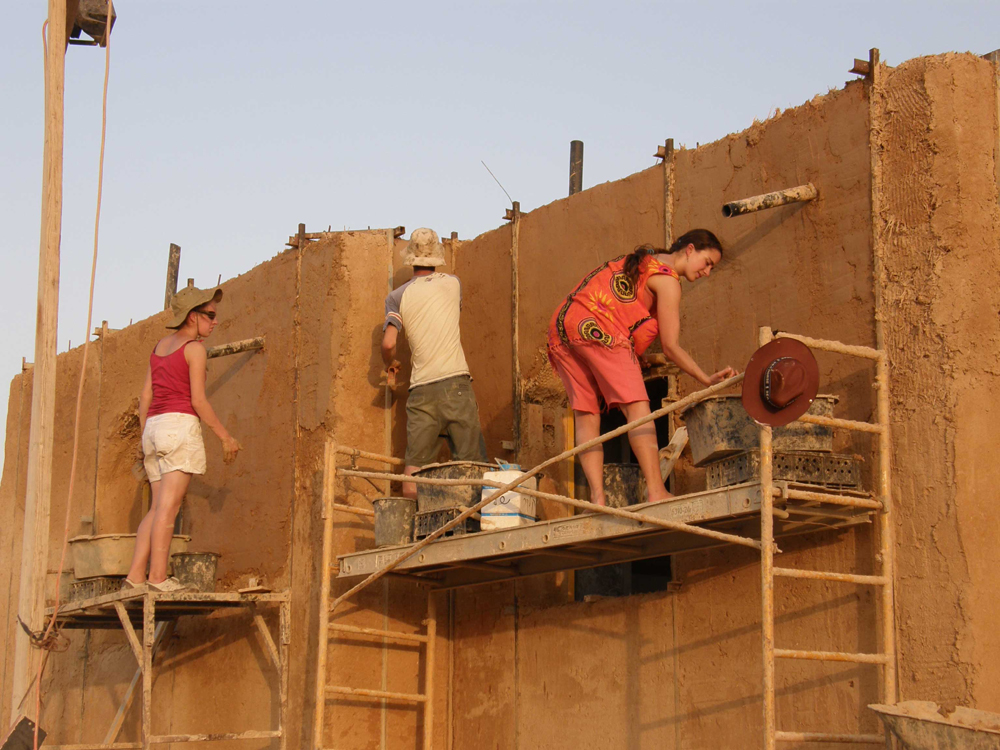
You are renovating your house, and that means renewing your walls. And now you find out that you have to apply a smoothing plaster, which is a delicate operation that requires a little method and a lot of patience. It is necessary to remove the damaged coating, carefully prepare the support, and then apply your plaster with a trowel or a coating knife.
Let’s take a closer look at wall coatings.
Filler or smoothing plaster?
There are two distinct operations, filling and smoothing, each with its own coating:
– As its name indicates, the filler is a coating to fill a hole or a crack.
– The smoothing plaster, or finishing plaster, allows to remove the defects of the surface of a wall; the surface is smooth and can then be painted or covered with a wall covering.
Most of the time, the two operations follow one another. After filling holes and cracks, the wall surface is smoothed.
Powder coating or ready-to-use coating?
The smoothing plaster exists in two forms, in powder or ready-to-use paste:
– The paste plaster, ready to use:
◦ More convenient because it requires no preparation.
◦ More expensive to purchase, its characteristics, especially its elasticity, are variable.
◦ It is often used on small surfaces.
– Powder coating:
◦ It can be applied to the entire walls of a room, but do not miss the preparation.
◦ This type of plaster is used both indoors and outdoors.
1. Prepare your wall for the application of the coating
For the wall to receive a coating, it must be healthy, clean, and neat.
In the case of a wall with traces of damp, you should treat it before applying the smoothing coating.
However, if this problem is recurrent, it is preferable to hire a moisture specialist to diagnose the wall and suggest an appropriate treatment.
For an old coating that is crumbling
Remove the plaster from the entire damaged surface, a small area, or the entire wall if necessary:
– Remove it by sliding the spatula between the wall and the plaster.
– Sand the support, either with a coarse abrasive paper (n° 40 or 80) or with a wall sander, making large circles.
For old plaster that does not crumble
Scrape the support with the inclined plastering knife to eliminate the roughness of the wall as much as possible.
– If you feel any roughness when you pass your hand, sand with a coarse abrasive paper (n° 40 or 80).
In all cases
Remove dust from the surface by scrubbing it with a brush and cloth and vacuuming it.
Tip: If you cannot clear the room of all furniture, cover it with a tarp.
2. Prepare the smoothing compound
For powdered plaster
– Read the instructions carefully; the manufacturer indicates the ratio of powder to water. It is not easy to estimate the final quantity needed; it is easier to prepare small amounts and repeat the operation.
– Pour the powder into the trough. Choose a clean trough with a suitable volume; you should be able to mix easily.
– Add the appropriate amount of warm water: the heat of the water will prevent lumps from forming.
– Mix with a spatula until you obtain a semi-liquid cream consistency. If the coating is too dry, add a little water, and if it is too liquid, add a little powder.
For ready-to-use coating
The use of this type of coating does not require any preparation.
Note: depending on the wall on which the coating will be applied, check the label to see if it is for interior or exterior use.
3. Prepare your coating knife

Before applying the coating, make sure your coating knife is adequately sharpened:
– Use a fine file to bevel the edge of the blade:
– Place your coating knife on a wooden block.
– Hold the knife firmly.
– File one side of the blade to a slope.
– Then run a sharpening stone over this angle, always from top to bottom, until you have a sharp blade.
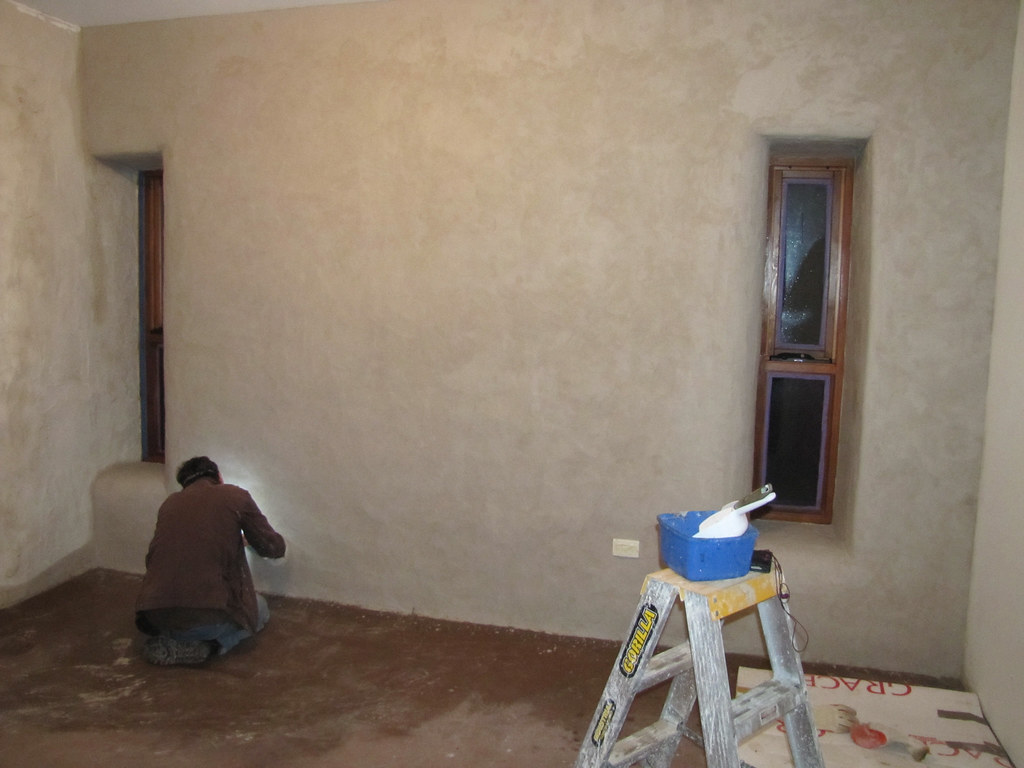
4. Apply plaster to the wall
Apply the plaster with a float or a plastering knife.
– Start at the corner of the wall.
– Work from top to bottom in small areas of about 50 cm on each side.
– Smoothing is done in parallel strips that overlap each other by half a blade.
– Load the plaster on the beveled side of the knife with the spatula.
– Hold the knife full-handed, thumb underneath, and slightly at an angle so that a small bead of filler emerges on the uncoated side. It will be removed when the next strip is applied.
– Apply the coating to a thickness of about 1 mm, to avoid excessive sanding.
– Let dry for at least 12 hours.
5. Apply the coating on a projecting corner of the wall
For a projecting corner with a sharp edge
Proceed in two steps:
– Take 2 knives to coat: one will be used as a guide for the other.
– Hold the guide knife horizontally along the corner so that it forms a border for the plaster.
– Apply the plaster with the other knife on the other side of the wall.
– Let the plaster dry.
– Repeat on the other side of the corner.
– Let dry.
– Sand with light sandpaper (#600 or 800) to smooth the corner.
If the corner is too fragile
It is tipped to protect it with a metal angle, an aluminum or zinc profile, which the plaster will cover.
– Fix the corner profile with a bit of plaster.
– Then, apply the wall plaster using the technique described above; the angle is then embedded in the plaster.
– Sand with light sandpaper (#600 or 800) to smooth the corner.
6. Perform the finishing touches
– Lightly sand the plaster with a sanding block and sandpaper (#600 or #800) to achieve a smooth surface.
– Proceed with increasing circular motions.
– Finally, dust off with a damp cloth.
Wait about 24 hours before painting the wall or applying a wall covering.
Materials for applying leveling compound
Smoothing compound $5 for 1 kg
Filler (tube) From $3
Trough Starting at $2
Sanding paper About $5 for 3 sheets
Dusting brush About $6
Spatula Starting at $1
Coating knife Starting at $3
Sharpening stone About $10
File Starting at $5
Hope this guide helps you to Render Your House. Remember to share your experience in the comments below.
Read more here: