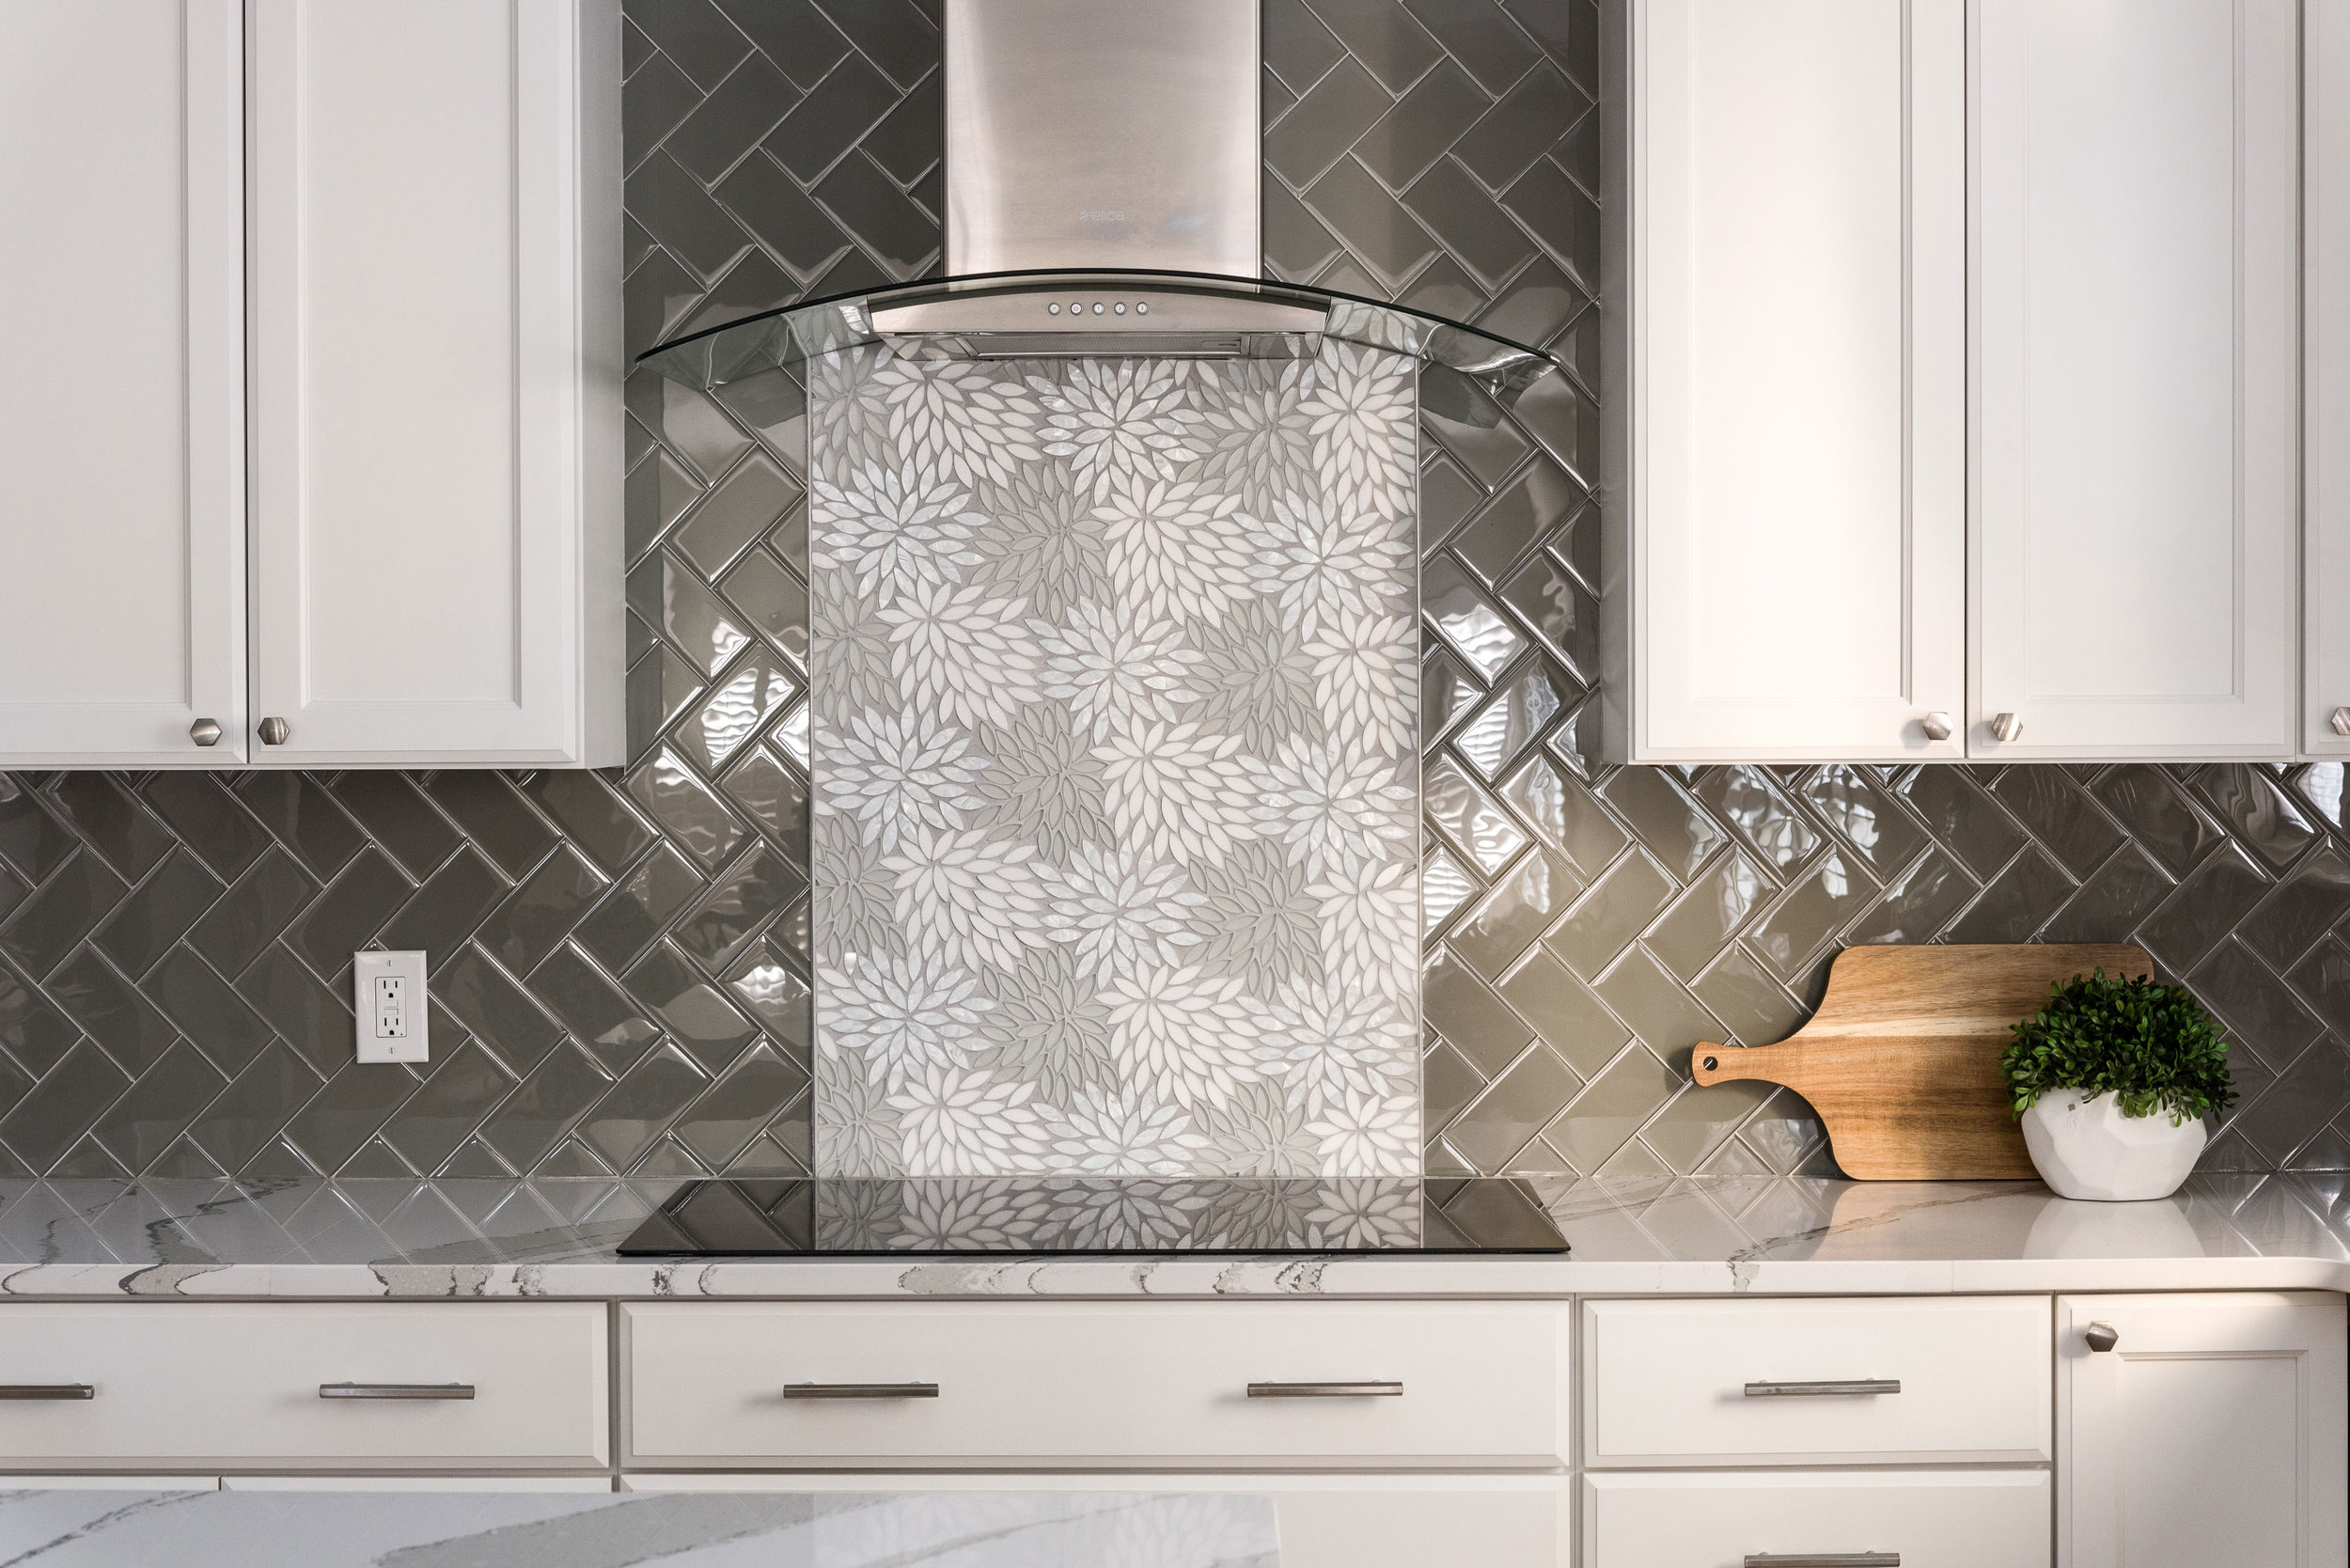
It’s confession time: You are getting a little sick of your same old kitchen space. When you stepped into your kitchen for the first time, you were excited to fill it with vibrant colors, stainless steel appliances and striking indoor plants. However, after spending too much time in your kitchen, you’ve started to feel that it requires a makeover. And one of the critical steps of renovating a kitchen space is to add a new kitchen backsplash.
Apply a New Backsplash
If you wish to create a refreshed look for your kitchen, you’ll need to install a new backsplash.
So, let’s see how to:
Removing the Old Backsplash:

- Clear the counter so that you can easily access the backsplash.
- Remove the outlet covers and turn off the power to the area where you will be removing the tiles.
- Chisel the tiles off without gouging the drywall with the hammer and putty knife.
- After removing the tiles, you will notice that there is an adhesive beneath that is either rock-hard or semi-soft. Thinset, a cement-based product, will be used to create the rock-hard adhesive.
- To remove the thinset from the wall, use a stiff putty knife and some elbow grease.
- To remove semi-soft adhesive (mastic) from the wall, use 120-grit sandpaper.
- Using joint drywall compound, fill the drywall gouges and sand them smooth. Allow them to dry completely before continuing.
- Finish sanding the entire wall with a drywall sanding pad and 120 grit sand paper.
Installing a New Backsplash:
Step 1: Several items are required to install a traditional tile backsplash in your kitchen. So, before starting your project, be sure that you are completely prepared.
- You must have your tile, tile adhesive, and grout ready before you begin.
- Next, assemble the necessary tools, which should include a notched trowel, tape measure, sponge, level, utility knife, and a tile cutter. Spacers may be required for tiles that are not connected in sections.
- To keep your countertops clean during this process, you may want to use something to cover them.
Step 2: It’s critical to get a good measurement so you know exactly what size to cut your tiles to.
- Select a stopping point, either directly beneath your cabinets or at a random point on the wall.
- It is important to have enough tiles to fill the measured space, plus a few extras for safety.
- Mark your stopping point along the wall with a level and straight edge.
Step 4: Smooth the tile adhesive across the wall with your trowel, working in small areas. If too much is applied at once, it will start to dry before you can attach the tiles.
- So, my first tip would be to begin applying your tiles at the bottom center and work your way outwards.
- And, refrain from applying tile adhesive to the backs of the tiles as it will make attaching them to the wall more difficult.
Step 5: Use a level to ensure the even placement of the tiles in the tile adhesive on the wall. Push them against the wall a few times to ensure they are securely fastened.
- If your tiles aren’t connected in sections, use spacers to ensure they’re all evenly spaced.
- You can also wiggle the tile against the wall a little bit to ensure suction with the adhesive.
Step 6: Using the same method, attach all remaining tiles to your wall until you reach the edges. Cut off any excess or oddly shaped corners before sticking your tiles to the edges of the wall to ensure a perfect fit.
- Before attaching the tile to the wall, always cut out holes for outlets or odd edges.
- You can use the spare tile that has been cut to size with a tile cutter or utility knife to fill any empty spaces.
Step 7: Spread grout evenly across the tiles with your clean trowel. Don’t be concerned about covering the tiles – that’s what’s supposed to happen. You’ll get rid of the extra grout later.
- The grout should be spread out in a sweeping pattern at a 45-degree angle.
- Give at least a few minutes for the grout to set before wiping away excess with a damp sponge. All cracks between tiles should be filled, and the remaining tiles should be cleaned of any excess grout.
Step 8: After the grout has completely dried, wipe it down with a dry cloth once more.
So, there you’ve got a new backsplash ready for your kitchen space.