If like us, you had to borrow from the bank to purchase a house, you know how mortgage repayments take a considerable chunk out of your salary. What with moving in and furnishing, it can be years before you can truly have a home that’s to your taste. After spending a decade only repainting walls and ceiling, we’ve decided that is was high time to invest time and money to revive every room in our house. Well… Easier said than done.
We did want to start right away and get rid of those things we could barely stand but had to keep due to lack of funds. But renovating a house isn’t something that can be done haphazardly, especially not when you are on a budget! So, of course, we started with the living room. It’s the first thing people see when they walk in the door and it’s where we spend most of our time. And it’s not like there were no hiccups along the way! But we learned from our mistakes and we are ready to share a few tips with you. Since we were tired of changing only the wall color, we decided the overhaul the whole room. Keep on reading if you want more details.

The house we bought came with an atrocious popcorn ceiling. Not only is it hard to clean, but it is also difficult to paint over and even more difficult to repair if broken. So, it was the first thing I had gone when we first moved in. The worst part though was that our popcorn ceiling was painted over. I cannot overstate how long it took us to get rid of that and paint it over! And when we finally had the budget to change the ceiling? Well, suffice to say we went to various contractors and spent hours looking at and debating over the many types of ceiling more than was really necessary. From suspended ceilings to tray ceilings and coffered ceilings, we saw everything! And although we initially wanted a tray ceiling, we just had to come to grips with the reality that it just didn’t fit the layout of our living room and would unnecessarily complicate matters for us.
So, we settled for what we considered to be the next best thing: stretch ceiling. We wanted something that would bring a certain flair to the living room, would be durable and that would also be flexible. We could pick from 3D patterned shapes to glossy colors, add in lighting, backlight surfaces and acoustic solutions. What’s not to like! Since we knew that not everything always goes exactly according to plan, we chose not to take another gamble with the ceiling. Hence, we didn’t skimp on quality and chose not to just go for the lowest bid. Ceilings are meant to be a long-term investment after all! After doing some digging around, we chose Melbourne Ceilings to help us out with our project. And my opinion on the finished product? Loved it! It visually enlarged the space and was completed within a few hours with absolutely no mess left for us to clean up!

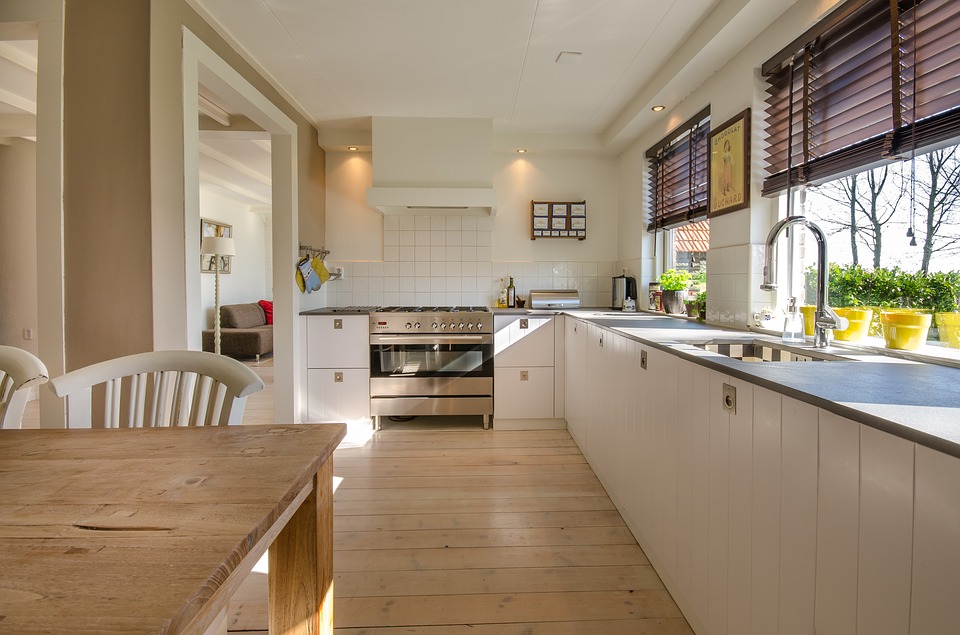
The other major things left to tackle were flooring and windows. Considering the commitment that windows represent, we believe it deserves a blog post of its own. When it came to flooring though, it was an easy choice. The house came with carpets, and while we managed to keep them clean and as stain-free as possible, we wanted something that doesn’t require constant attention. Carpets are just too hard to maintain – without constant vacuuming they quickly start to look dingy and dirty. We all know that! And despite tiles being easier to clean, we knew the installation process would be above our budget and very time-consuming. Which means we were left with floorboards. Although the hardwood floor we had installed does not absorb noise like carpet did and is more scratch-prone, it is easier to clean and is relatively easy to repair.

Once these were sorted out, we were left with choosing the wall color. Obviously, we couldn’t just go for a color we both liked. We had to pick a color that would not only work in that specific room and but one that wouldn’t clash with our existing furniture and the new items we planned on adding to the living room. Keeping a few old furniture facilitated this stage to some extent as it meant that the first step to picking a color would involve working around those items. Since some of our focal pieces were shades of yellow, we wanted a more neutral color to contrast with the bold color of the accent pieces. We also wanted the room to look larger and brighter while also having a relaxed atmosphere. And there’s one color that can suit just about any room, mood, and setting while also lending a sense of trendiness to a room. Yep, you guessed it! We went grey and we don’t regret it.


Pingback: How to Repair a Cracked Ceiling | Home services blog