It’s a fact that today homeowners are not able to resist high-end aesthetic hardwood floors. Offering a great deal of warmth, elegance and value to a home –without forgetting the flawless beauty that never seems to go out of style – the demand for hardwood floors has grown exponentially over the last few decades.
Congratulations if you were tempted to buy the light-colored oak wood floor or the reddish-hued one. Now, let’s get to reality: How to install hardwood flooring?
The Installation Process
Stage One:

Get Your Subfloor Ready
To lay down hardwood flooring, you must first prepare the subfloor. This lesson concentrates on installing solid hardwoods, thus a wood subfloor is required if you wish to follow the instructions correctly. However, there are other possibilities.
Don’t forget to think about things like door jambs. You’ll need to be able to either get your flooring below the molding or cut your floor to get around it.
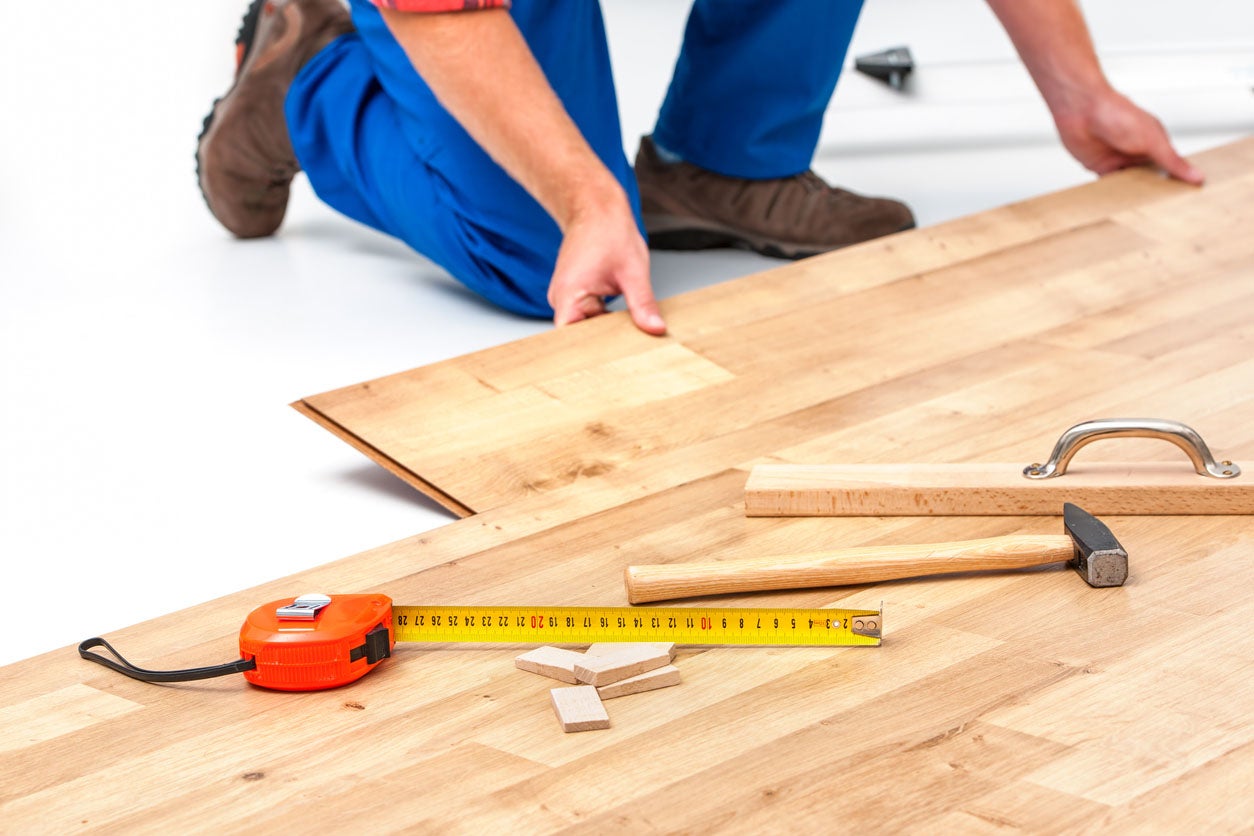
Allow Your Wood To Acclimatize
Before installing solid hardwood floors, let the wood to acclimatize to the moisture level in your home. Allow the wood to rest for at least three days in the room where it will be placed. Try to build the floor in the spring or fall, when the weather is neither too hot nor too cold. The wood will be affected by temperature as well.
Collect Your Tools
This project will need a greater number of tools and supplies. Larger components, such as flooring nailers, can be rented from your local hardware shop. Other components, such as nails, will need to be acquired. The supplies list for this project may be found at the bottom of this page.
Stage Two:
Start By Laying Down The First Board
The board should be positioned in line with the room, with a little space at the wall for expansion (see the manufacturer’s recommendations) (so consider measuring guidelines). Fill up the gaps using spacers.
Finding the center point of each wall and drawing a line connecting them to form a cross in the middle of the room is how guidelines are put. Mark the manufacturer’s suggested expansion distance and then draw a line perpendicular to the center line where one of these lines hits the wall.
Attach The Planks To The Subfloor Using Nails
Drill guide holes and then nail the board into the flooring with nails set 1-3″ from the end of the plank, 12″ from the groove side, and every six inches along the board using a hammer. Finish with a nail set.
Your Boards Should Be Locked Together
When you’ve finished the first row, lay the next board such that the tongue of the first fits into the groove of the second. Place the boards so that they are offset, starting about six inches from the end of the preceding board. Tap the boards together with a mallet and a tapping block to form a tight seam.
Continue until you’ve finished three rows. The first three rows will be nailed exactly as explained in the second step.
Don’t Forget To Trim The Boards To Size
Because you are staggering boards, you will most likely need to cut boards to fill in the gaps at the end. Measure the required distance while keeping the expansion gap in mind, and then cut it with a saw (with the board face-down).
Start Placing Rows Using The Flooring Nailer
When you have adequate room, you should start utilizing the flooring nailer (though you could technically do the entire floor with the hammer and nails). Simply line it with the board to be nailed and then strike it.
For The Last Few Rows, Use A Hammer
The flooring nailer will ultimately run out of room. Hammer the following few rows in the same manner as you did the first.
The Finished Board Should Be Cut To Size
If it doesn’t fit properly, you’ll have to trim the last board to make it small enough to fit. Measure carefully and cut the boards to size using a circular or miter saw.
Using The Crowbar, Secure The Remaining Boards
Because you won’t have enough room to tap them with the mallet, push them into position with a crowbar instead. You are now ready to complete your floor.


Pingback: How to Take Care of Your Hardwood Floor | MyHome