6 Steps for Making a Pallet Worktop
Contents
– Focus on the materials needed to make a pallet worktop
– Step 1: Make the base of the pallet worktop
– Step 2: Recover the slats from the 3rd pallet
– Step 3: Cut and sand the pallet slats to make the top
– Step 4: Assemble the boards to form the pallet top
– Step 5: Screw the slats to the cleats
– Step 6: Finish your pallet worktop
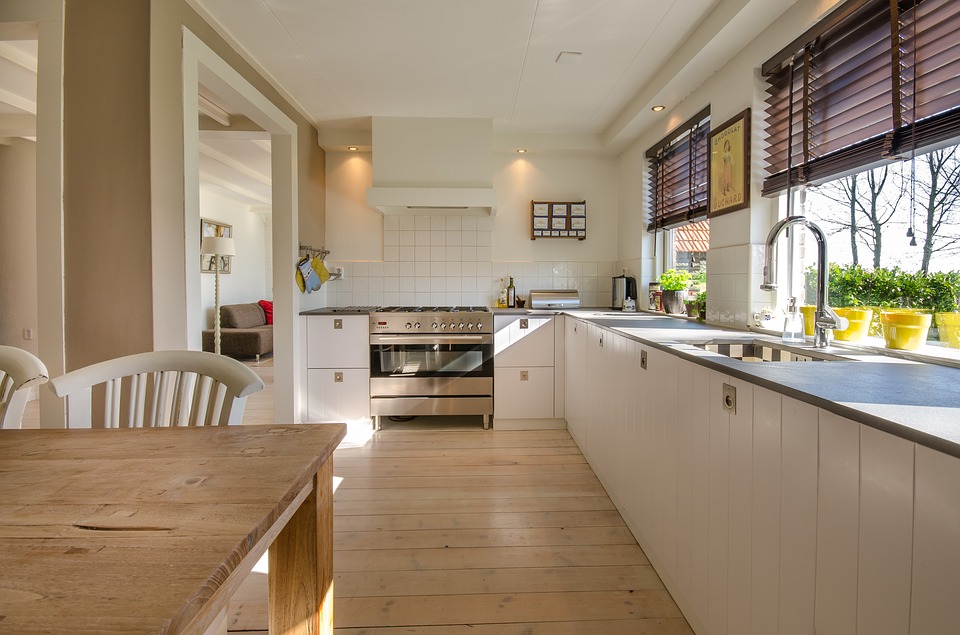
The worktop is an essential part of the kitchen renovation if you want to cook comfortably. If you are short of space to cook good food, the solution is to make a worktop. To save money, you can use wooden pallets that you can easily recycle.
This post explains how to make a worktop out of pallets.
Focus on the materials needed to make a pallet worktop
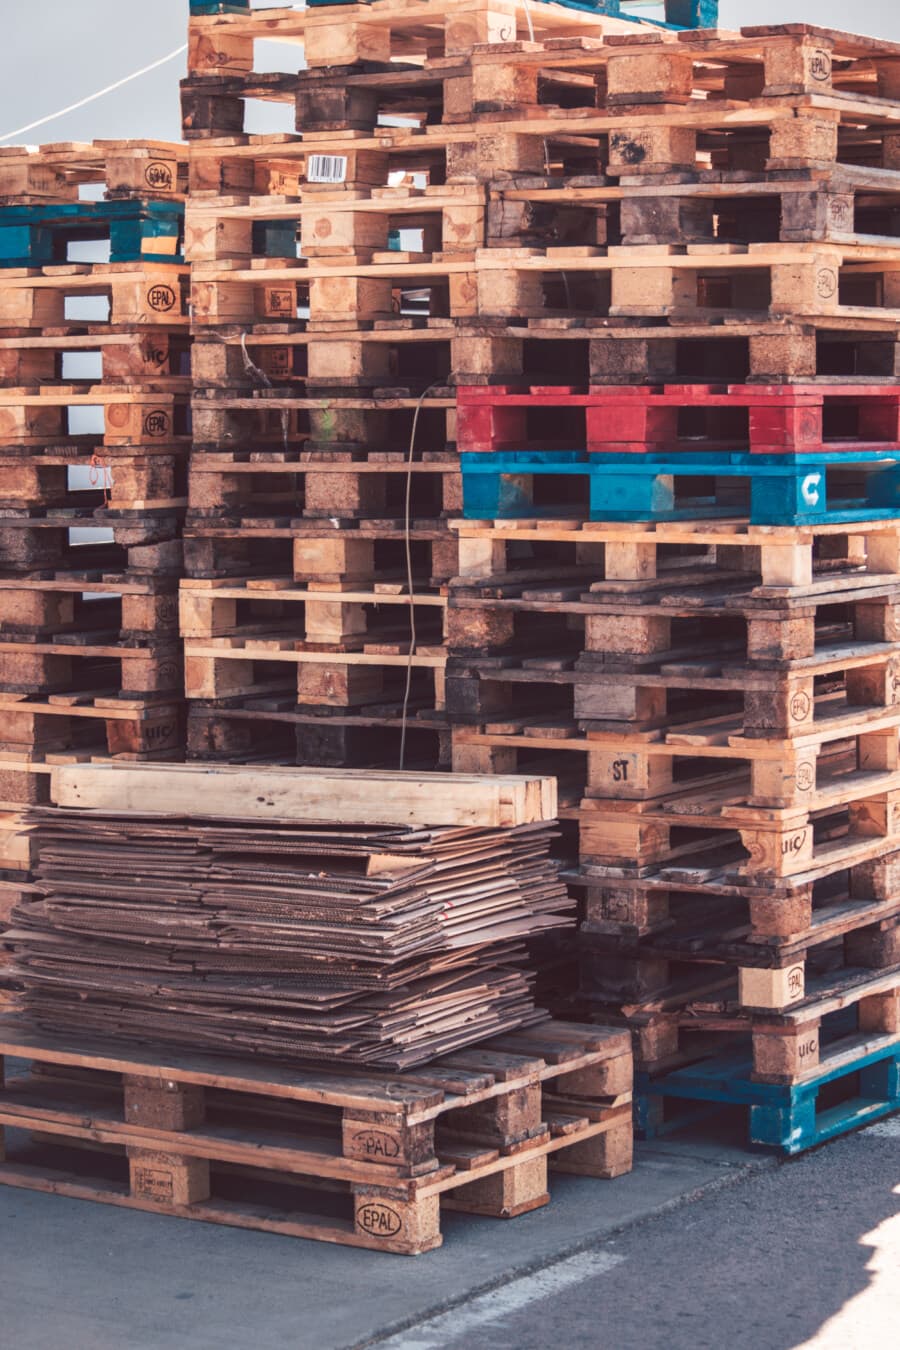
Choose unmarked disposable wooden pallets, which you can get from construction sites, merchants, or DIY stores. Avoid American and EUR EPAL pallets, which are returnable and especially difficult to dismantle.
To make a pallet worktop, you need:
– 2 identical wooden pallets, clean and in good condition;
– 1 wooden pallet to be dismantled to reuse its slats;
– flat wooden slats;
– flat metal assembly tabs;
– small and long wood screws.
1. Make the base of the worktop from a pallet
To make the worktop base:
– Select the 2 identical pallets.
– Sand them with a fine 180 grain if the wood is not smooth.
– Remove any dust residue with a soft brush.
– Place the 2 pallets opposite each other so that their soles are in contact.
– Assemble them using flat assembly tabs screwed to the dice of the pallets.
2. Retrieve the slats from the 3rd pallet
To retrieve the slats from the 3rd pallet, disassemble them:
– Obtain a brick chisel or crowbar.
– Slide the brick chisel or crowbar between the crossbar and the batten.
– Tap lightly with a hammer.
– Remove the batten.
– Tap on the nails to get them out of the wood.
– Do this to remove all the slats.
3. Cut and sand the pallet slats to make the tray
Prepare the pallet strips for the worktop:
– Lay all the slats side by side, lining them up with each other.
– Cut 7 slats to the same length (around 120 cm) using a jigsaw.
– Sand all strips to remove any roughness in the wood.
4. Assemble the boards to form the pallet top

To form the pallet top:
– Cut 3 wooden cleats about 70 cm long (establish the length based on the width of the slats × number of slats).
– Screw the 3 cleats to the dice of the worktop base, dividing them as follows:
◦ 1 at each end;
◦ 1 on the middle dice.
Note: for this operation, use long screws.
5. Screw the slats to the cleats
To attach the worktop slats:
– Position a 1st batten perpendicular to the cleats, aligning it with one of the outer edges.
– Screw it to each batten using 2 short screws per batten.
– Fasten all battens to the cleats, aligning them perfectly with each other.
6. Finish your pallet worktop
To make your pallet worktop operational:
– Sand the top if necessary to remove any rough edges.
– Apply varnish or oil to the wood to protect it from stains.
Please find below the list of materials that you’ll need to make your pallet worktop.
Materials needed to make a pallet worktop
Brush
Brick chisel
Thick protective gloves
Hammer
Tape measure
Drill
Crowbar
Sander
Jigsaw
Screwdriver