Embarking on the journey of home renovation is both exciting and rewarding, especially when delving into the realm of do-it-yourself (DIY) projects. In this comprehensive guide, we’ll take you through the step-by-step process of creating a stylish pallet worktop, adding a touch of rustic charm to your living space. Get ready to unleash your creativity as we transform simple pallets into a functional and visually appealing centerpiece for your home. Homeowners often find joy in hands-on projects that not only enhance their living spaces but also showcase their personal touch and craftsmanship.
Materials You’ll Need
To ensure a smooth and successful crafting experience, it’s essential to gather all the necessary materials before diving into the project. These include pallets, sandpaper, wood stain or paint, a saw, screws, and a power drill. Having these essentials on hand sets the stage for a seamless crafting journey. Gathering your materials in advance not only streamlines the process but also allows you to focus on the creative aspect of the project without interruptions.
Step-by-Step Crafting
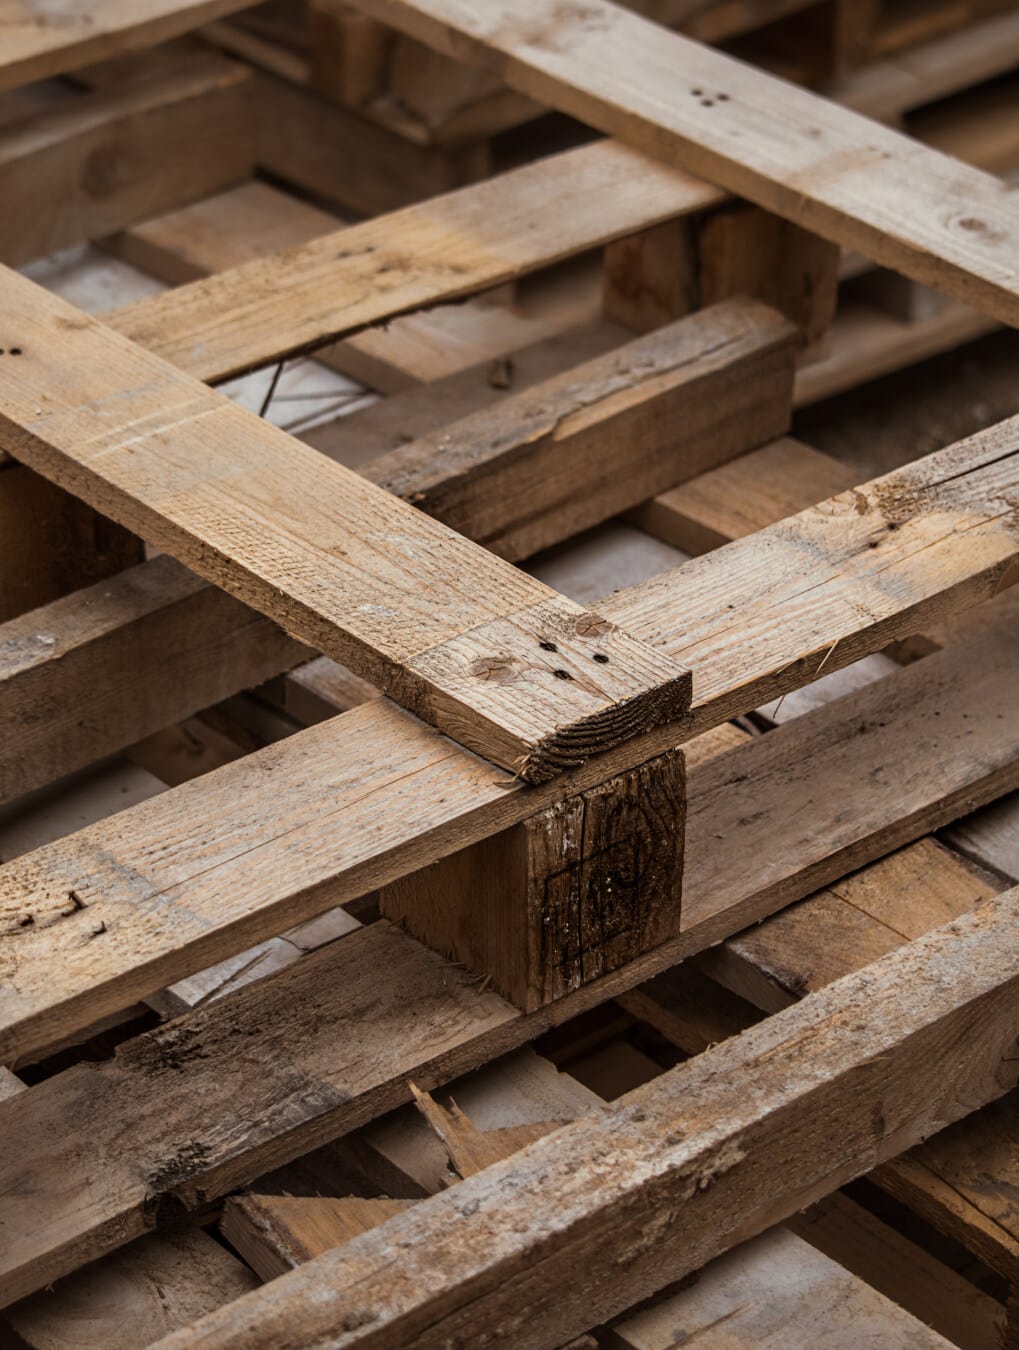
1. Pallet Preparation
The initial step involves meticulous disassembly of the pallets. Take time to carefully deconstruct them, and once disassembled, use sandpaper to refine each plank. This process ensures a clean and smooth surface, providing the foundation for your worktop’s transformation. Investing time in the preparation phase pays off in the final result, as it contributes to a polished and professional-looking pallet worktop.
2. Arranging the Planks
With the disassembled and refined pallet planks at your disposal, lay them out in the desired pattern for your worktop. This step is crucial as it allows you to visualize and plan the final look, ensuring that the arrangement aligns seamlessly with your envisioned aesthetic. Take this opportunity to experiment with different layouts, considering the dimensions of your space and the overall design theme you wish to achieve.
3. Securing the Planks
Employing a power drill, carefully attach the pallet planks together. The key here is to ensure that each plank is tightly secured, guaranteeing stability and long-lasting durability for your crafted worktop. Take your time with this step to create a foundation that withstands the test of time. Adding an extra layer of screws or choosing reinforced screws can further enhance the structural integrity of your pallet worktop, ensuring it remains steadfast under regular use.
4. Adding Finishing Touches
The creative flair comes into play at this stage. Apply wood stain or paint to enhance the aesthetic appeal of your worktop. Choosing a shade that complements your existing decor contributes to a cohesive and personalized look. This step is where your individual style can shine through, transforming the pallet worktop into a unique addition to your space. Additionally, consider experimenting with different finishing techniques, such as distressing or layering, to add character and depth to your pallet worktop.
5. Sealing for Longevity
To protect your crafted masterpiece from the rigors of daily use, consider applying a clear sealant. This additional layer adds durability, ensuring your pallet worktop remains resilient and stands up to the challenges of everyday wear and tear. The sealing process is a crucial final touch that enhances the longevity of your DIY creation. It not only safeguards the aesthetic appeal but also makes the worktop easier to clean and maintain, ensuring it remains a functional and beautiful addition to your home for years to come.
And There You Have It
Crafting a stylish pallet worktop transcends the realm of DIY projects; it becomes an expression of your creativity and a testament to the beauty of upcycling. As you revel in the satisfaction of completing this project, you’ll not only have a functional addition to your home but also a conversation piece reflecting your craftsmanship. Sharing your experience and photos of the finished project in online DIY communities can inspire others and create a collaborative atmosphere where ideas and tips are exchanged freely.
We trust you’ve enjoyed this detailed DIY journey! Feel free to share your thoughts, experiences, or any questions in the comments below. Happy crafting!


