Creating the ideal stone fireplace is not just a home improvement project; it’s a journey toward warmth, ambiance, and a focal point that transforms your living space. In this guide, we’ll walk through the steps of building your dream stone fireplace, infusing your home with character and a cozy atmosphere.
Setting the Foundation: Choosing the Right Location
The first step in building your ideal stone fireplace is selecting the perfect location. Consider the layout of your room, ensuring that the fireplace becomes a central element that adds both functionality and aesthetic appeal. Evaluate sightlines, traffic flow, and proximity to existing architectural features to determine the optimal spot for your fireplace.
Laying the Groundwork: Preparing the Surface
Before diving into the stone application, it’s crucial to prepare the surface adequately. Ensure that the area is clean, level, and free of any debris. Depending on your fireplace design, you may need to install a fire-resistant backer board to provide a stable surface for the stone veneer. Proper preparation is the key to a lasting and visually pleasing stone application.
Choosing the Right Stones: Selecting Your Aesthetic
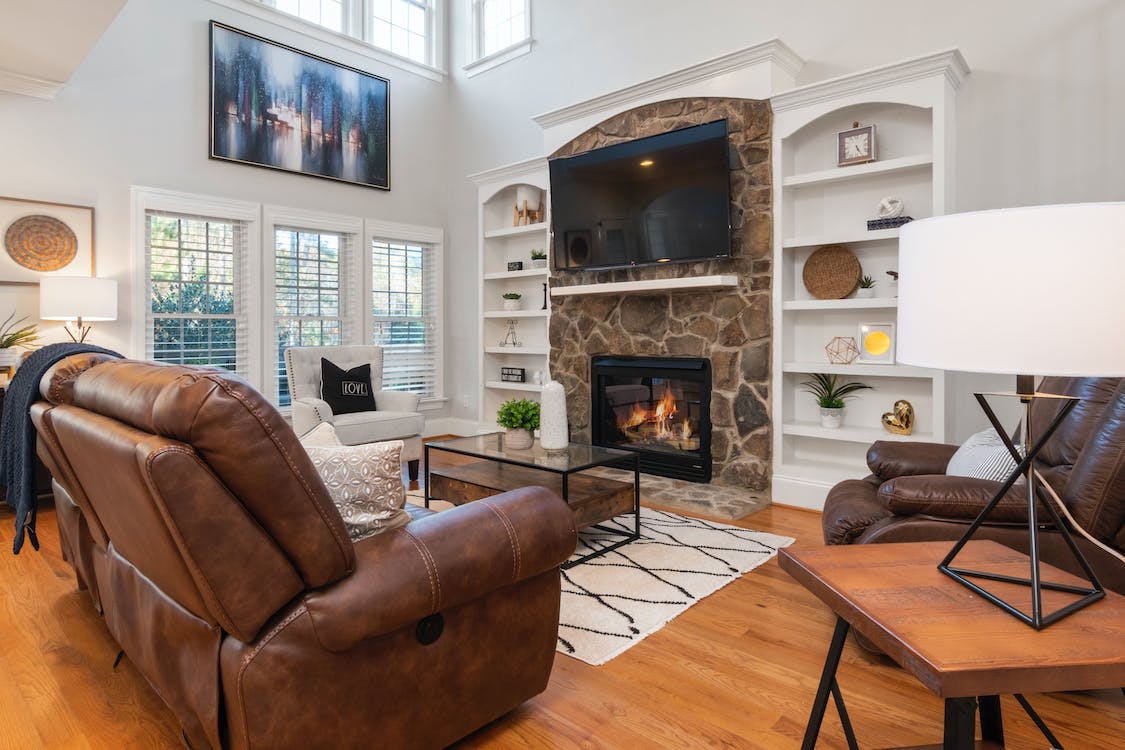
The heart of your ideal stone fireplace lies in the choice of stones. Consider the overall aesthetic you want to achieve—whether it’s rustic, modern, or a blend of styles. Natural stone veneers, such as slate, limestone, or river rock, offer a timeless appeal. Manufactured stone veneers provide a wide range of options, allowing you to customize the color, texture, and shape to match your vision.
Building the Foundation: Applying the Mortar
With the surface prepared and stones selected, it’s time to start building. Use a high-quality mortar mix to adhere the stones to the surface. Begin from the bottom, working your way up, and apply mortar to both the back of the stone and the prepared surface. Press each stone firmly into place, ensuring a secure bond. Pay attention to the spacing between stones to achieve the desired look.
Finishing Touches: Grouting and Sealing
Once the stones are in place, the next step is grouting. Choose a grout color that complements your stone selection and overall design. Apply the grout using a rubber float, pressing it into the spaces between the stones. Wipe away excess grout with a damp sponge before it dries. After the grout has cured, seal the stone fireplace to protect it from stains and enhance its longevity.
Igniting Comfort: Enjoying Your Newly Built Stone Fireplace
As you complete the construction of your ideal stone fireplace, take a moment to appreciate the transformation. The warmth emanating from the flickering flames will not only provide physical comfort but also create a cozy atmosphere that brings your home to life.
Embracing the Hearth: A Testament to Craftsmanship
Your newly built stone fireplace stands as a testament to craftsmanship and the pursuit of a comfortable living space. The carefully chosen location, meticulously applied stones, and thoughtful finishing touches contribute to a fireplace that not only provides warmth but becomes a focal point of your home.
Warming Your Home and Heart: The Fireplace’s Final Glow
As the flames dance within your newly built stone fireplace, you’re not just witnessing a home renovation; you’re experiencing the culmination of warmth, craftsmanship, and thoughtful design. The cozy ambiance radiating from the hearth not only warms your home but also becomes a gathering place for family and friends. Your ideal stone fireplace, a labor of love, is now ready to provide comfort and ignite countless memories.
We trust this guide has been both informative and enjoyable. If you have any thoughts or questions, please share them in the comments section below. Your feedback is invaluable as you embark on creating your ideal stone fireplace for a cozier home.


