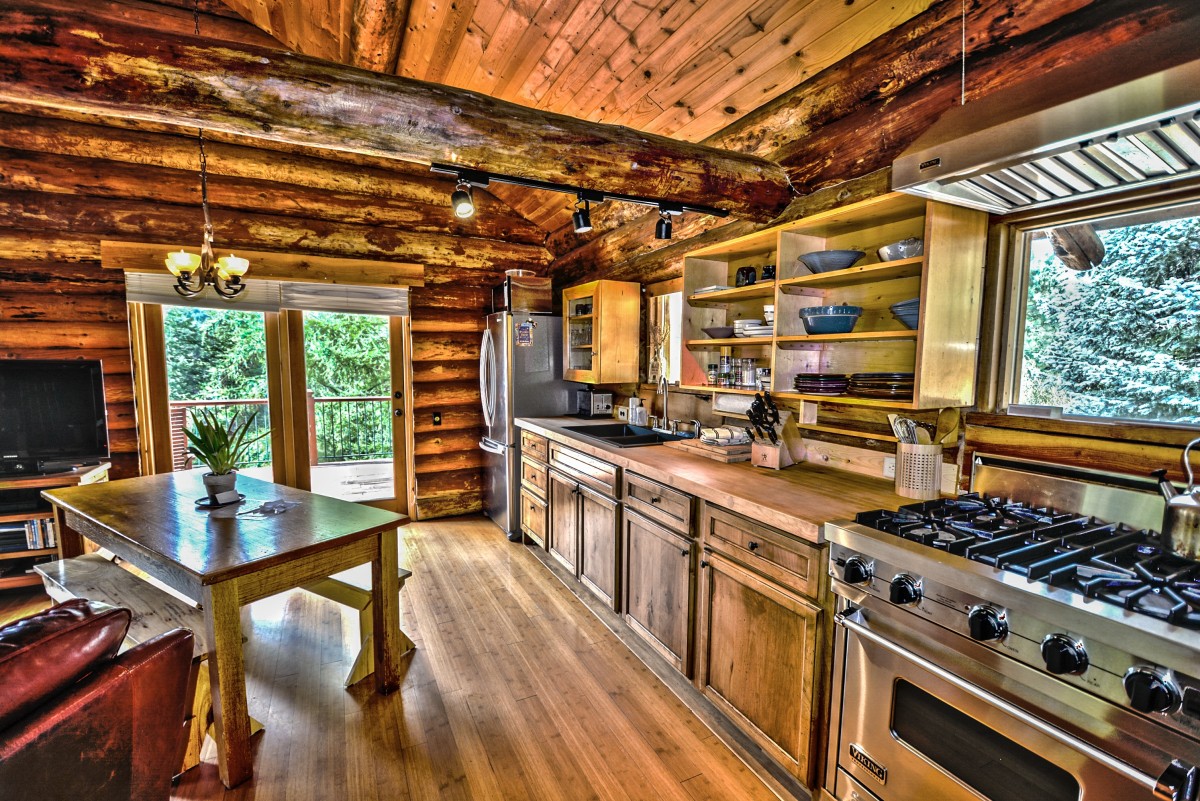
5 Steps to Modernize a Rustic Kitchen
Contents
Step 1: Paint the fronts of the doors, drawers, and cabinets of your rustic kitchen
Step 2: Change the fronts of your rustic kitchen
Step 3: Cover the fronts with MDF or plywood veneer
Step 4: Replace or cover the worktop
Step 5: Renovate the credenza of your rustic kitchen
Do you find that your kitchen is outdated and want to give it a facelift? There’s no need to buy a new one, representing a significant budget and work. Other solutions exist: some are very simple, others require a little more time but are still very affordable.
Here is how to modernize a rustic kitchen.
1. Paint the fronts of the doors, drawers, and cabinets of your rustic kitchen
If you like the look of the doors and drawer fronts but can’t stand the yellowed varnished wood or the yellow-orange hue of the 2000s, you can paint your kitchen cabinets.
Start by removing the doors and drawers and taking off the handles.
Prepare a lye mixture in a bucket at 200 g per liter of warm water.
After putting on gloves, dip a kitchen sponge in the mixture and scrub the entire surface with the abrasive side; regularly wash with the sponge side.
Rinse thoroughly and let dry in a well-ventilated area away from the heat.
Quickly sand the facades with 80 grit sandpaper to scratch the surface.
Dust with a damp sponge, then wipe clean with a lint-free cloth.
You can then paint your doors and drawers using a good quality-resistant, washable kitchen paint. Let it dry for 24 hours.
Then clean the cabinets and baseboards.
Tip: You can remove the cornices if they no longer fit.
Rinse and dry them.
Please give them a quick sanding, rinse and dry.
Apply the same paint you used for the facades.
Let dry for 24 hours.
Important: Be aware of bumps and clean for at least 15 days until the paint is thoroughly dry.
Install new handles and replace the fronts.
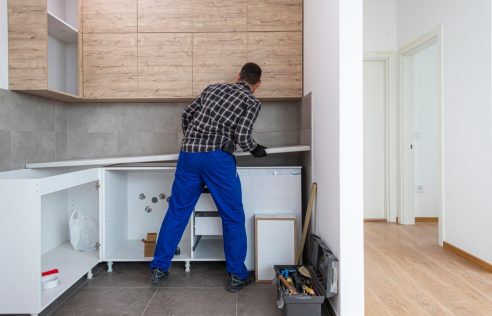
2. Change the fronts of your rustic kitchen
You can quickly change the look of your kitchen by installing new doors and drawers.
Remove the doors and drawers from your kitchen, take one of each to your kitchen designer or a store specializing in kitchen design, and choose a new model.
Prepare the cabinets and other elements by washing and sanding them.
Paint them the same color or a color that matches your chosen fronts.
Install your new drawers and doors according to the instructions.
Good to know: drawers are often a bit expensive compared to the cost of a door, so you can keep them and paint them like the cabinets, but remember to change the handles.
3. Cover the fronts with MDF or plywood veneer
Good to know: MDF (medium-density fiberboard) is a medium-density wood fiberboard. You can keep your elements and cover them with a thin layer of MDF or plywood; both are treated identically.
Remove the handles.
Wash the fronts and cabinets.
Sand and rinse the whole.
Measure the length and width of the doors flush with the edges; do the same for the drawers.
Based on these measurements, obtain 5 mm thick MDF boards (depending on the number of fronts to be covered) and strong glue.
Paint the melamine boxes, the doors on the back, the edges and 1 cm on the front, the drawers on the edges, and 1 cm on the front.
Sand with 120 grit sandpaper on one side and the edges of the MDF wearing a dust mask.
Paint the fronts and edges of the doors.
Place a plate on the front, and while holding it in place with one hand, mark the center distance of the handles with a punch that you will pass in the holes.
Drill the holes for the new handles with a drill and a bit corresponding to the size of the core of the screws.
Apply glue in a serpentine pattern on the back of the plates and door panels.
Place the plates on the doors, matching the holes in the plates and doors.
Press firmly and let dry.
Tip: If possible, add weights – pounds will do – and leave them in place during the drying time.
Install the door and drawer handles, then reassemble the assembly on the cabinets.
4. Replace or cover the worktop
If your countertop is old or out of style, you can replace it: take it apart entirely and install the new one.
You can also cover your worktop with one of the following solutions:
There are commercial renovation kits (sometimes including the credenza). The new coating, of low thickness, is stuck on the old surfaces: you have to follow the instructions.
You can buy brushed aluminum plates and glue them on the covering.
Good to know: if your work surface is tiled, it is advisable to clean it thoroughly beforehand and then apply a coating to level the joints.
In the case of an old worktop, therefore lower than the current standards, you can directly lay a new worktop on top by gluing it with silicone dots. The old and the new edge can be covered by a flat strip glued/screwed.
You can also apply a decorative resin coating with a waxed concrete look (whether your worktop is tiled) or lay a new tile over the old one.
5. Renovate the credenza of your rustic kitchen
Older credenzas are often made with tiles. Instead of knocking them down, you can cover them up.
Wash the tiles with lye, at a rate of 100 g per liter of hot water, with a few drops of ammonia.
Put on a pair of gloves and, using an abrasive sponge, carefully clean the surface of the tiles and the joints.
Rinse and wipe with a lint-free cloth.
Put on a protective mask, then run an eccentric sander, 80 grit, over the tile to scratch the surface.
Dust with a damp sponge and wipe dry.
Apply tile paint or renovation resin, glue an aluminum plate, a decorative coating, install new tiles, a glass credenza…
Materials needed to modernize a rustic kitchen.
Cloth
Sanding sponge
Cleaning gloves
Alkaline detergent
Protective mask
Glue putty
Tape measure
Sandpaper
Drill
Eccentric sander
Bucket
Wood screws

Pingback: Installation Of A Guardrail: Standards And Regulations | MyHome