How to Make a Kitchen Island From Pallets
Contents
Zoom on how to make a kitchen island out of pallets
Step 1: Cut the 2 pallets for the central part of the kitchen island
Step 2: Sand and clean all the pallets
Step 3: Assemble the bottom part of the kitchen island
Step 4: Assemble the middle part of the island
Step 5: Assemble your pallet kitchen island
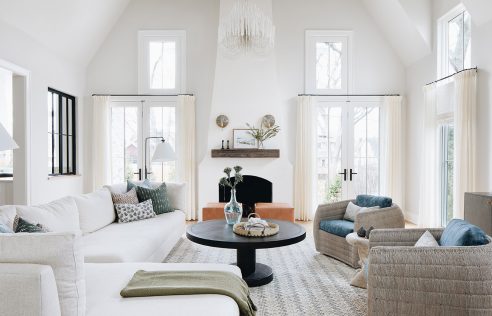
Useful and very practical, the kitchen island easily finds its place in an open kitchen and links with the living room. It allows you to cook in a warm and friendly atmosphere. By recycling wood pallets, you can make a functional and designed piece of furniture.
Here is how to renovate your kitchen by making a kitchen island from pallets.
The kitchen island is made of 4 parts:
- the lower part, made of 2 whole pallets placed and fixed one on the other;
- the central part, made of 2 partially cut pallets;
- the upper part, made of 1 whole pallet;
- the tray, fixed on the upper part.
To make your island, you will need the following:
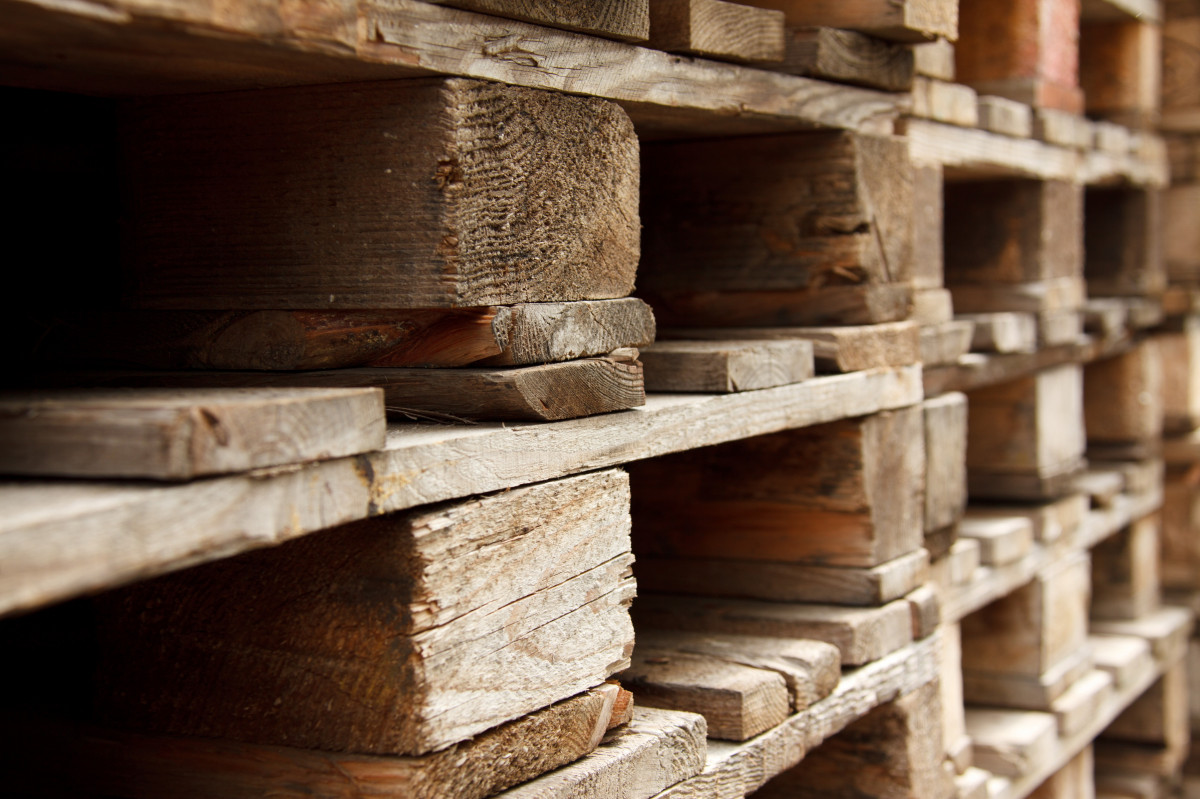
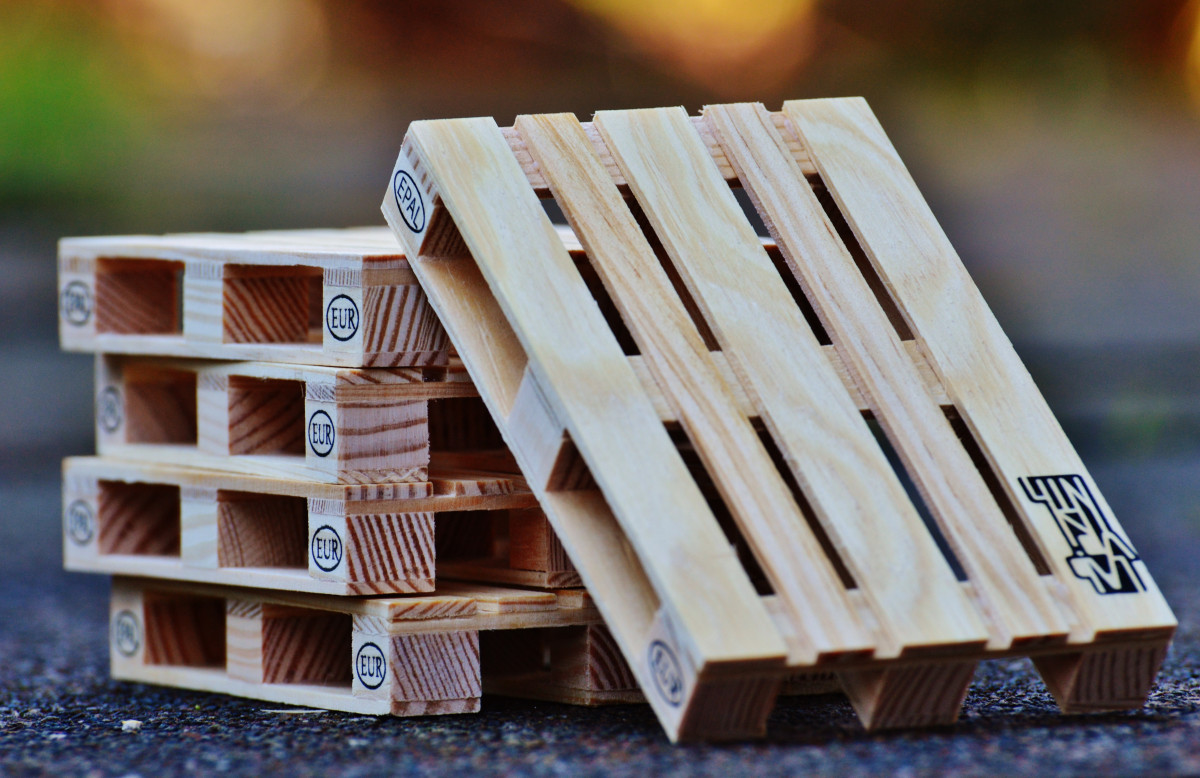
- 5 wooden pallets of the same size;
- 1 wooden board to make the top of the island.
Important: choose unmarked disposable pallets to make your pallet island. You can pick them up in stores or hardware stores.
1. Cut out the 2 pallets for the central part of the island
Cut out the top pallet
The top boards are kept, but the lower space is cleared to create storage space:
Turn 1 pallet upside down and saw off the footings along the dice on the 2 ends of the pallet.
Then remove the dice from the center rail using a crowbar or brick chisel and a hammer.
Cut out the bottom pallet
The top boards are removed and the footings are retained:
Draw a cut line on the top boards along the dice at both ends of the pallet.
Saw the boards with a jigsaw following the cut line.
Dismantle as before the dice of the central crosspiece, fixed on the footings.
2. Sand and clean all pallets
Sand the pallets
Sand the entire surface of the pallets with a coarse grit to remove any roughness or defects in the wood.
Sand a second time with a fine grain to smooth the wood.
Clean the pallets
Dust the pallets and then brush them clean with soapy water.
Rinse and let the wood dry.
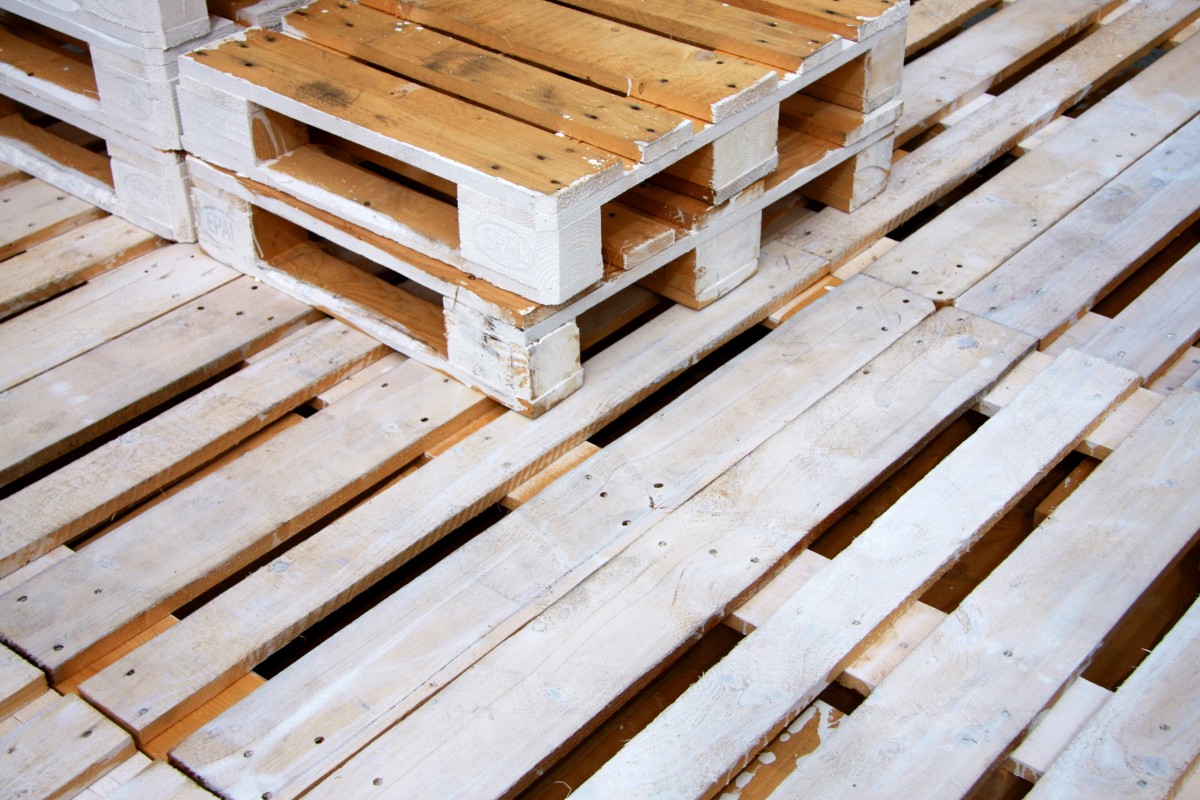
Good to know: if you want to paint your island, now is the time to do it because all surfaces are accessible.
3. Assemble the lower part of the center island
Place 2 full pallets on top of each other, edge to edge.
Screw the flanges of the upper pallet into the slats of the lower pallet.
Important: choose screws of a suitable length so that they do not protrude.
Secure the fastening by screwing flat assembly tabs at the dice.
4. Assemble the middle part of the island
Turn the top pallet over.
Place it on the lower pallet, aligning it perfectly.
Secure them with flat assembly tabs screwed on the sides at the level of the dice.
5. Assemble your central pallet island
Attach all parts together
Place the central part on the lower part.
Fasten them together by screwing them into the footings and the top boards.
Then place the last pallet on top of the center part and screw it the same way.
Install the island tray
Place the island tray on the top pallet.
Mark the drilling points every 20 cm at about 2 cm from the edges.
Nail the tray to the pallet.
Oil the tray to protect it from stains.
Materials needed to make a center island from pallets
Vacuum cleaner
Brush
Brick chisel
Flat head nails
Pencil
Thick protective gloves
Protective oil
Hammer
Tape measure
Pallet
Sanding paper for sander
Fixing bracket
Drill
Crowbar
Flat brush
Wooden boards
Sander
Ruler 60 cm
Soap
Jigsaw
Wood screws
Screwdriver


Pingback: The 4 Imperatives Of A Suitable Home | MyHome
Pingback: Top 4 Things To Know About Waterproofing Your Roof | MyHome
Pingback: Top 7 Roof Ornaments | MyHome
Pingback: Top 5 Ideas For Contemporary Style Interior Design | MyHome