How to Design a Sloped bathroom
Contents
Step one: checking the technical feasibility
Second step: designing the bathroom under the slope
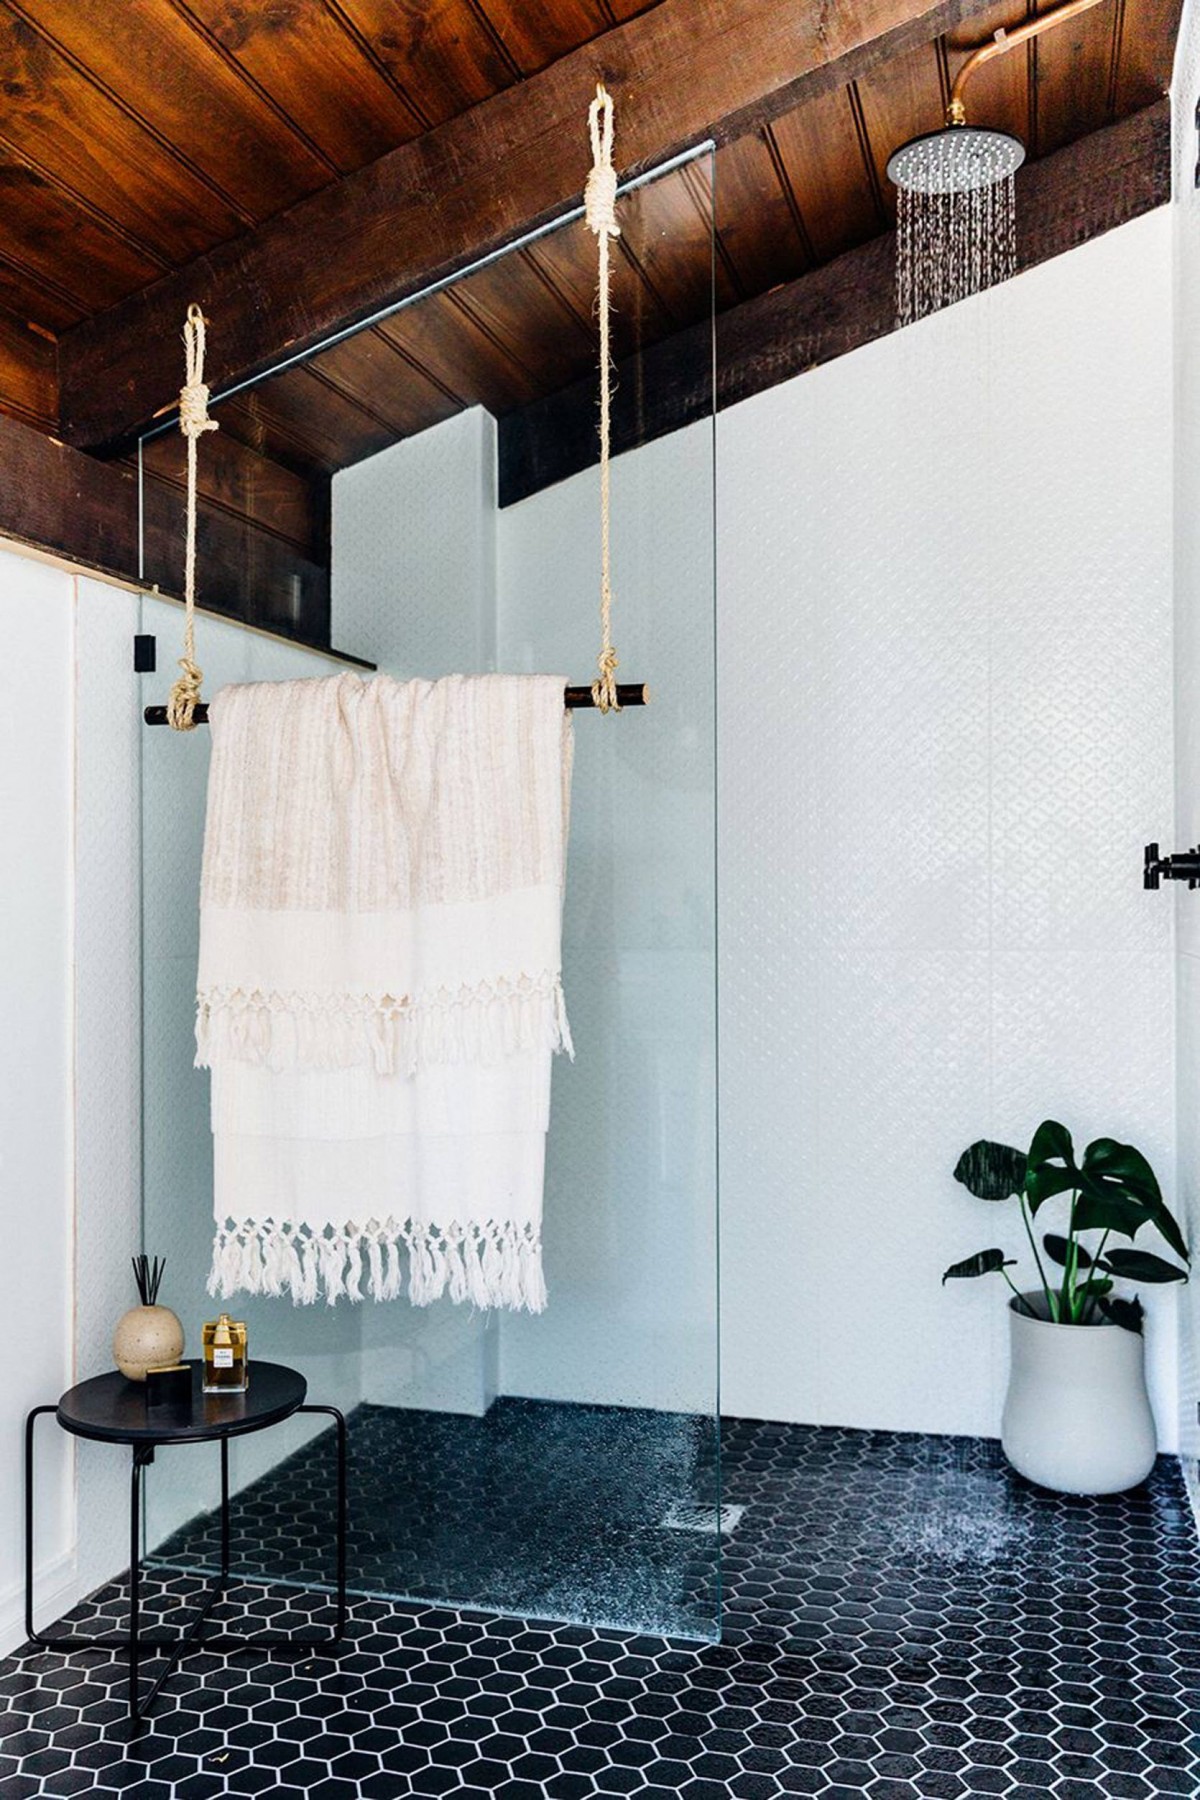
Under the roof, square metres are limited… All the more reason to make the most of them and rationalise them as much as possible by daring to install a bathroom under the slope! This zoom will help you specify your project and carry it out.
First step: check the technical feasibility
Tip: To check the technical feasibility of a sloped bathroom, contact professionals and check whether the work is subject to planning permission or a building permit.
Strength and insulation of the sloping bathroom floor
The sloping bathroom floor must be able to support the weight of the sanitary elements, especially the bathtub. If this is not the case, a new load-bearing structure must be installed, with the costs that this may entail.
In terms of insulation, the same floor must be sufficiently insulated to accommodate a wet room. Again, work may be required to cover it with a waterproof covering (tiles, parquet, etc.).
Ventilation of the bathroom under the slope
Better ventilation is needed in the bathroom than in any other area. A roof window is ideal in a sloping bathroom to ventilate and natural light the room. Otherwise, opt for a mechanical ventilation unit, which sucks in humid air to bring in the fresh air.
Second step: fitting the bathroom under the slope
Rules to respect
If every square metre is to be exploited to the full in a sloping bathroom, certain rules must be respected to ensure that the room remains practical and comfortable:
60 centimetres: this is the minimum clearance distance in front of the sanitary facilities (washbasin, shower, bath, WC);
45 centimetres minimum for the depth of the washbasin;
2 metres high for the shower;
20 centimetres on either side of the swing door.
Exploiting the square metres under the slope
Low-lying spaces can be used to house
Low storage units that run the length of the slope. For maximum space-saving, the storage units can also be used on the sides of the shower and bath;
The bathtub can be placed under the slope and even in a corner.
Tip: the highest ceiling height will accommodate the shower, whether or not it is a walk-in shower. In a bathroom with a slope, bevelled shower walls are a plus.
Visually enlarging the space in a sloping bathroom
It is always possible to create an illusion of space by playing on:
Hanging furniture, fixed directly to the wall or on a console. They free up floor space and make cleaning easier;
Colours: the lighter ones give a feeling of light and space. They are therefore best used on walls. The furniture or accessories will brighten up the room with a few touches of brighter colours;
A large mirror and light effects will also enlarge the room.
Tip: in a bathroom with a slope, opt for transparency. For example, the shower screen will not block the view, the shelves and even the washbasin.
You can find all the materials (furniture, sanitaryware, paint, floor coverings, etc.) in DIY shops and specialist shops.
Hope this post has given you some ideas for your upcoming home/bathroom renovation. Remember to share your experience in the comments below.
Read more:
- Bathroom Renovation Ideas: Industrial Loft Style;
- Best Ideas for a Provencal Bathroom Renovation;
- Successful Bathroom Renovation: 3 Must-Know Tips!
- 3 Crucial Points to Organise Your Bathroom Renovation;
- Monitoring the Construction of Your Bathroom;
- 6 Vital Questions to Consider When Building Your Bathroom;
- Why Will You Call a Professional Bathroom Installer
- How to Design a Bathroom in a Bedroom?

Pingback: Practical Guide To Renovating Your Bathroom | MyHome